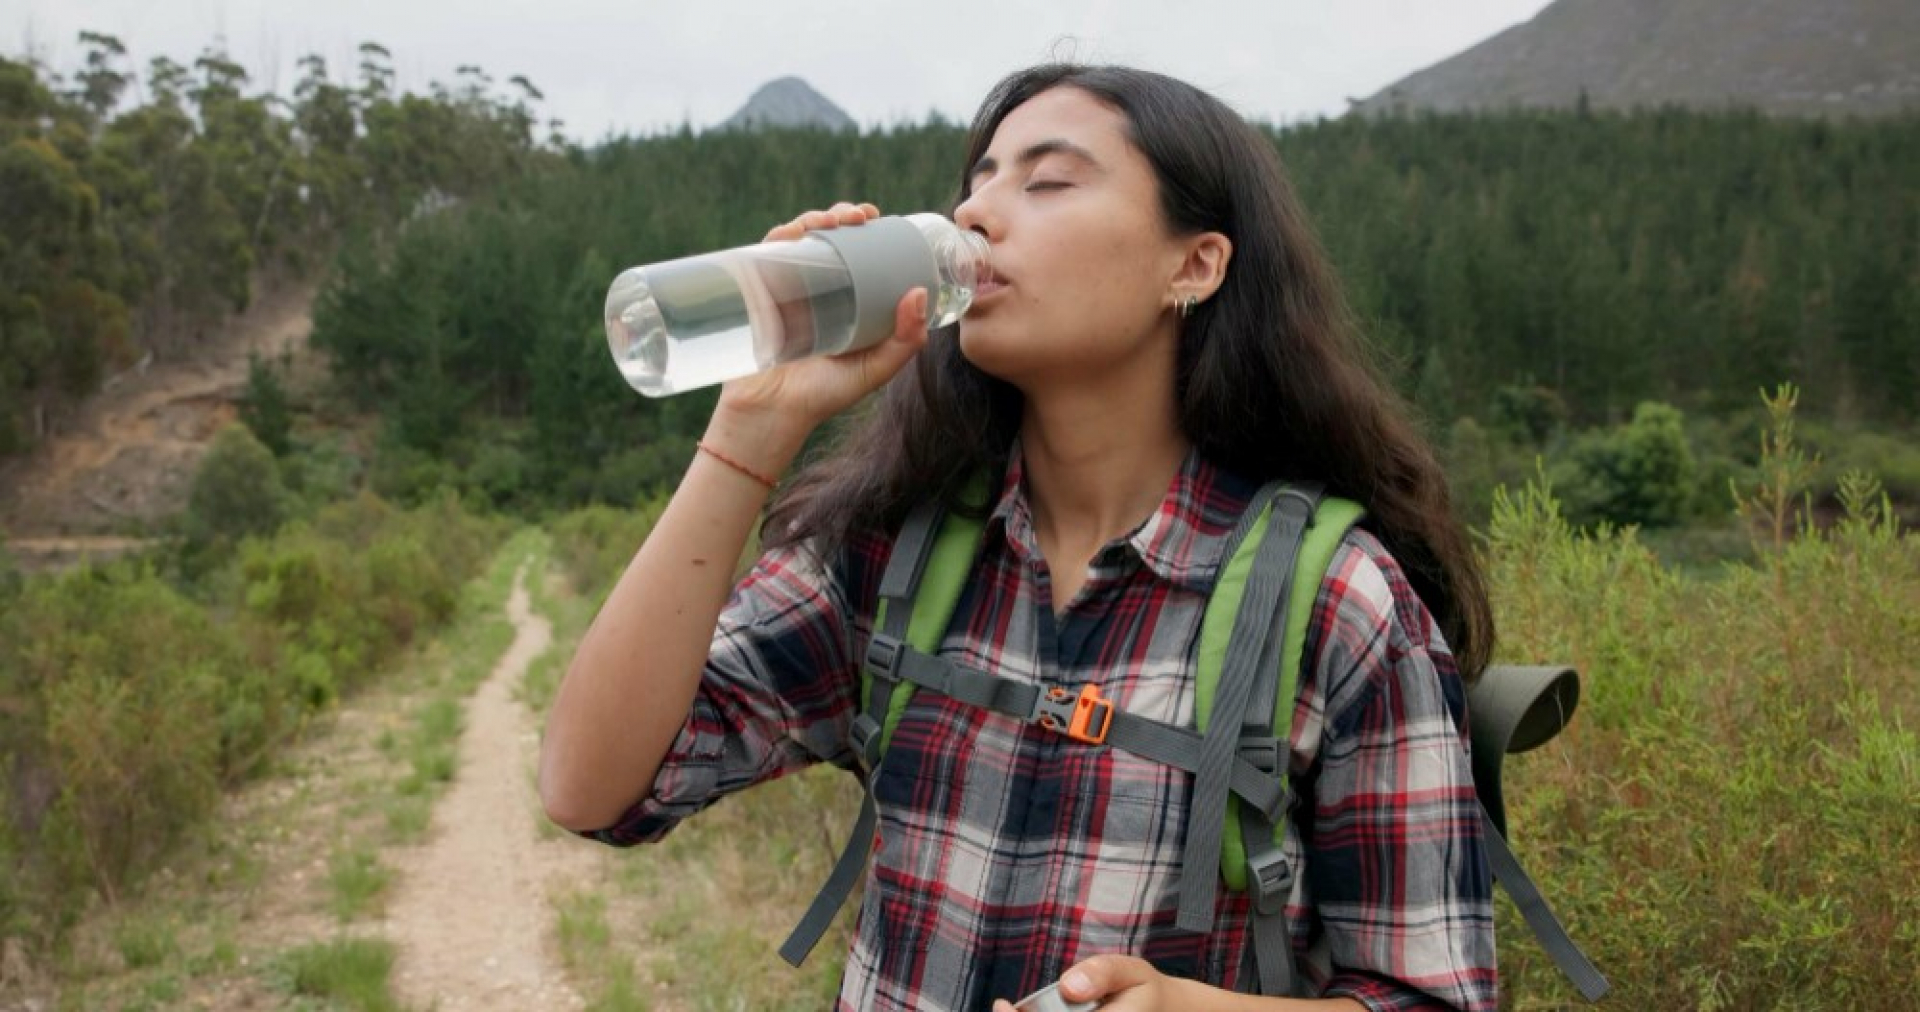
Access to safe drinking water is something most of us take for granted, until a flood, power outage, or natural disaster strikes. Suddenly, the tap runs dry or worse, becomes a source of contamination. In these moments, knowing basic water purification methods can mean the difference between staying healthy and risking serious illness.
Why Water Safety Matters in Emergencies
Contaminated water can carry a host of pathogens, including bacteria (like E. coli), viruses (like norovirus), and protozoa (like Giardia and Cryptosporidium). Drinking unsafe water can lead to diarrhea, cholera, hepatitis A, typhoid, and other life-threatening diseases. Children, elderly people, and those with weakened immune systems are especially vulnerable to waterborne infections.
Whether you are hiking in the wild, camping, traveling in low-resource areas, or facing a flood or cyclone at home, having a few water purification tricks up your sleeve can help you act quickly and confidently. Clean water is not just essential for drinking but also for cooking, brushing teeth, washing wounds, and food preparation.
1. Boiling- The Most Reliable Method
Boiling water for safety is the most foolproof and accessible purification method.
How to Do It:
Bring water to a rolling boil for at least 1 minute (3 minutes if you are at altitudes above 6,500 feet). Let it cool naturally in a covered container. Store in a clean, covered vessel.
What It Removes:
Boiling effectively kills bacteria, viruses, and protozoa. It does not remove chemical pollutants, heavy metals, or bad taste, but it is the best solution when microbial contamination is the biggest concern.
Pros:
- No need for special equipment
- Quick and effective
- Works in any environment with a heat source
Cons:
- Requires fuel (wood, gas, electricity)
- Does not remove chemicals or debris
- Hot water must cool before use
2. DIY Water Filters- Homemade but Effective
If you don’t have access to bottled or boiled water, creating a DIY water filter using basic materials can be a lifesaver. While it does not kill germs, it does remove large particles and makes the water clearer and easier to disinfect using secondary methods like boiling or chlorination.
Materials Needed:
- A clean plastic bottle or large funnel
- Clean cotton or coffee filter
- Activated charcoal (from aquarium stores or crushed charcoal)
- Fine sand
- Coarse sand
- Clean gravel
Assembly:
Cut the bottom off a clean plastic bottle. Invert the bottle to make a funnel. ayer from bottom to top: cotton, charcoal, fine sand, coarse sand, gravel. Pour water slowly through the top and collect the filtered water from the bottom.
Repeat the filtration process a few times and follow up with boiling or chlorination for best results.
What It Removes:
Removes visible debris, sediment, dirt, and some bacteria. It is not effective against viruses or chemical contamination unless paired with other methods.
3. Chlorine Tablets- Fast and Portable
Chlorine tablets for water purification are ideal for travel, camping, or emergency kits.
How to Use:
Drop 1 tablet per liter of clear water (follow manufacturer instructions). Shake and let stand for at least 30 minutes.
What It Removes:
Kills most bacteria and viruses; some tablets are also effective against protozoa such as Giardia.
Important Tips:
- Water may taste different; this is normal.
- Cloudy water should be filtered before chlorination.
- Keep tablets sealed and dry for long shelf life.
4. Household Bleach- Use with Caution
In dire situations, unscented bleach can disinfect water effectively. Always use with great care and exact measurement.
How to Use:
Use 8 drops of 6% bleach or 6 drops of 8.25% bleach per liter of clear water. Stir well and let sit for 30 minutes. Water should have a slight chlorine smell.
What It Removes:
Effective against most bacteria and viruses, but not effective against certain protozoa like Cryptosporidium.
Never use scented bleach, color-safe bleach, or bleach with added cleaners.
5. Solar Disinfection (SODIS)- Free and Accessible
Solar disinfection (SODIS) uses UV rays from the sun to destroy pathogens.
How to Use:
Fill clear PET plastic bottles with water. Place horizontally on a dark surface in direct sunlight for 6 hours (or 48 hours in overcast weather).
What It Removes:
Kills bacteria and viruses in relatively clear water. It’s less effective on turbid or colored water.
Pros:
- No cost
- No chemicals
- Eco-friendly
Cons:
- Time-consuming
- Less effective on cloudy days
- Doesn’t remove sediment or chemicals
6. Ceramic and Gravity Filters- Reliable and Reusable
Ceramic filters are an excellent investment for home use or long-term emergency situations. Often used with carbon layers and silver to enhance effectiveness.
How to Use:
Pour untreated water into the upper chamber. It passes slowly through ceramic elements into the clean container below.
What It Removes:
Removes bacteria, protozoa, microplastics, and dirt. Combined units can reduce chlorine, lead, and odor.
7. Portable Water Purifiers- Compact but Powerful
These include straw filters, UV pens, and pump filters. They are highly efficient for travelers and preppers.
- Straw filters: Drink directly from source.
- UV pens: Use UV light to sterilize small water volumes.
- Pump filters: Use hand pumps to process water through multilayer filters.
What They Remove:
Depending on the type, they eliminate bacteria, parasites, and some viruses. Always check specifications.
8. Distillation- Best for Chemical Contamination
Distillation can remove many contaminants, including heavy metals and salts, which boiling cannot.
How to Do It:
Heat water to a boil and collect the steam on a cool lid. Let the condensation drip into a clean container.
Pros:
- Excellent for areas with pesticide or heavy metal contamination
- Kills all microbes
Cons:
- Slow process
- Requires significant energy or fuel
Emergency Water Sources to Consider
In crisis situations, tap into these safe sources:
- Melted ice cubes
- Water heater tank
- Rainwater (if collected in clean containers)
- Toilet tank (not bowl), if uncontaminated
- Natural bodies of water (requires treatment)
Avoid water from chemically contaminated areas, flooded sewers, or stagnant sources.
Signs That Water May Be Unsafe
Even crystal-clear water can be unsafe. Watch out for:
- Strange odor or taste
- Cloudiness or discoloration
- Proximity to sewage, industrial waste, or livestock
Always treat suspect water, even if it looks clean.
Storage Tips After Purification
Once you have purified your water:
- Use clean, food-grade containers.
- Label with date and method.
- Store in cool, dark, and dry place.
- Replace stored water every 6 months or as directed.
Do not mix new water with old stored water.
Water Safety Education for Your Family:
Disaster readiness should be a family affair. Here is how to spread knowledge:
- Practice boiling and filtering with kids.
- Create an emergency water plan.
- Stock kits with chlorine tablets, extra bottles, and a filter system.
- Role-play emergencies and assign purification responsibilities.
Knowledge is power, especially when the tap goes dry.
Be Ready, Not Sorry
Water is life, but only when it is clean. In an emergency, knowing DIY water purification techniques can keep you and your family safe, hydrated, and healthy. Whether it is boiling, chlorination, filtering, or distillation, each method has its place.
Prepping now means fewer risks later. Build an emergency water kit, practice the techniques, and educate your household. Because when disaster strikes, it is not the biggest or the strongest who survive, but the most prepared.


